Hitching Up Your Caravan, Step by Step
You know that moment on a pitch or driveway when everyone suddenly becomes a towing expert? Someone’s peering at your hitch like they’re inspecting a moon landing, and you’re trying to remember whether the jockey wheel should be up, down, or somewhere spiritually in-between.
This is the antidote: a calm, practical run-through of caravan hitching up step by step, written for real UK caravanners who’d rather tow with confidence than perform competence for the neighbours.
Before you start: make it easy on yourself
If you’re on a slope, don’t try to “muscle it right” with micro-adjustments for ten minutes. It’s safer and quicker to reposition the car or the caravan so you’re as straight and level as you can reasonably get. Perfectly level is a luxury, not a legal requirement, but a decent line-up reduces the chances of a mis-hitch or a stressed coupling.
Have a quick scan of the ground. You’re looking for anything that’ll stop the caravan rolling as expected or twist the hitch head as you lower it - kerbs, stones under a wheel, a cable, a chock forgotten from earlier. This is also the moment to ensure the caravan handbrake is on.
If you use wheel chocks, use them with intention. They’re brilliant on a slope or for peace of mind, but they can also become the reason you can’t move the caravan that last centimetre to get the hitch to seat.
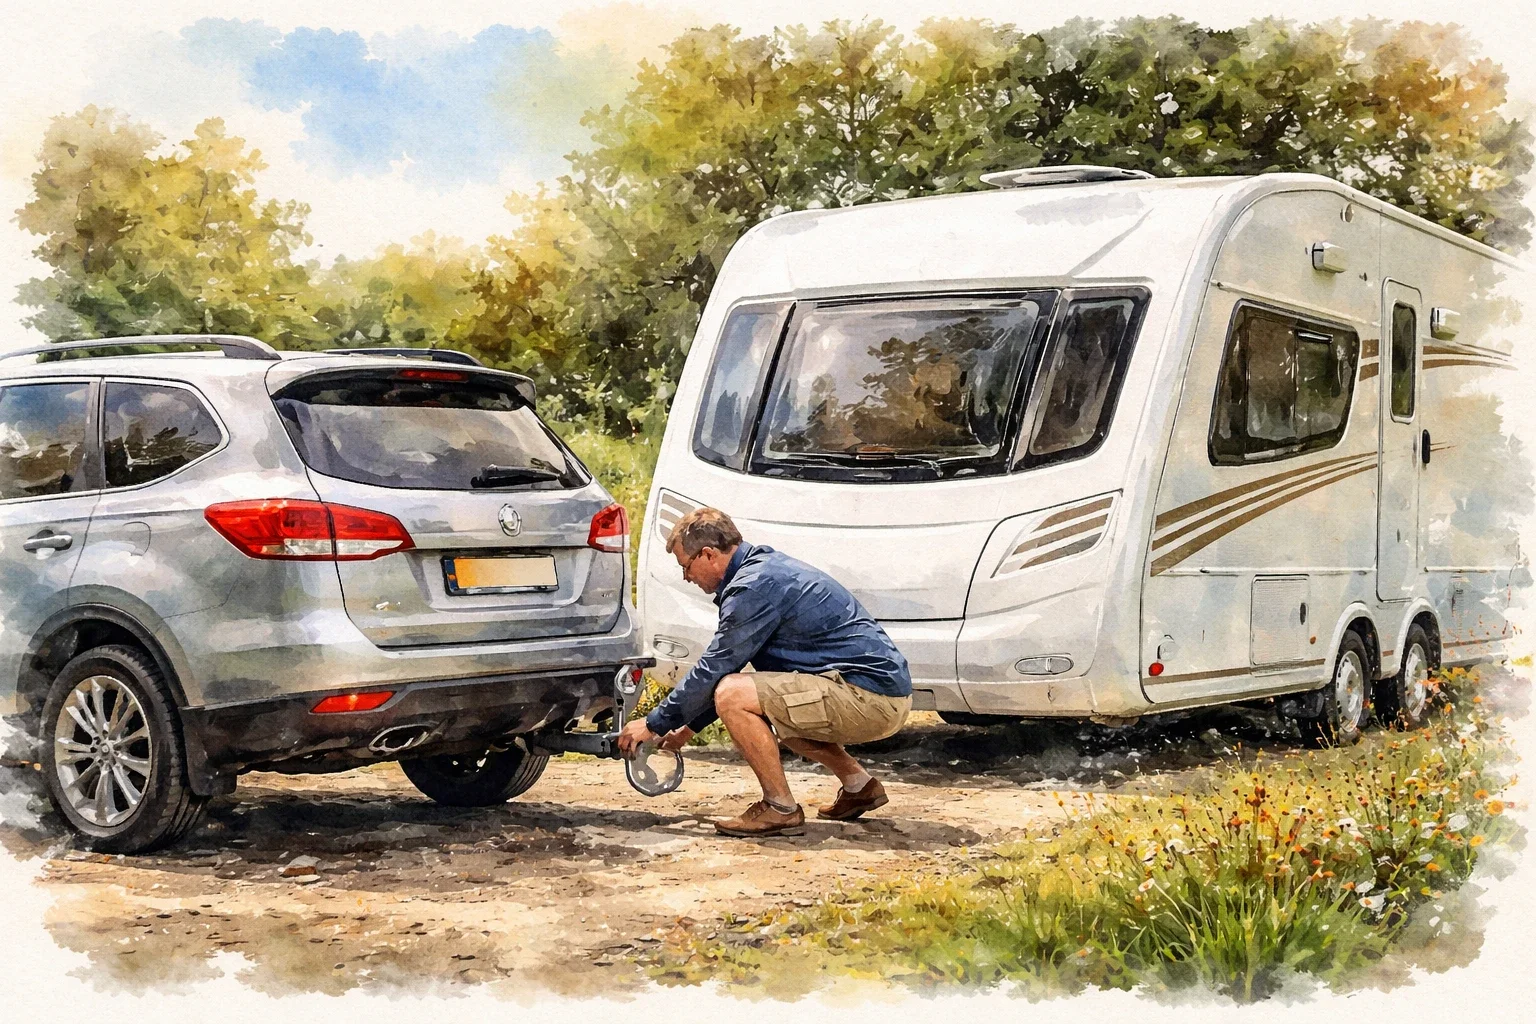
Step 1: check your towball and hitch head are clean
A towball doesn’t need to be shiny enough to see your reflection, but it does need to be clean and undamaged. Wipe off grit and old grease. Modern stabiliser hitches (common on UK caravans) want a clean, grease-free towball so the friction pads can do their job.
On the hitch head, check for obvious damage and make sure the coupling handle moves freely. If your hitch has a visual indicator (many do), get familiar with what “properly coupled” looks like on yours - because guessing is not a method.
Step 2: align the car and caravan
Reverse slowly, with small corrections. If you’re solo, take your time getting out to check alignment - the extra two trips to the driver’s seat are quicker than the one trip to the parts shop.
The goal is to have the towball directly under the hitch head. Not “near-ish”, not “I’ll drop it and see”. Directly under.
If you’ve got a motor mover, it can make alignment feel like cheating (the good kind). If you don’t, you can still do this reliably with patience and a straight approach.
Step 3: raise the hitch head slightly higher than the towball
Wind the jockey wheel so the hitch head is a little higher than the towball. This gives you room to reverse that final touch without scraping and lets the hitch drop cleanly onto the ball.
If the jockey wheel feels gritty or stiff, don’t ignore it. A struggling jockey wheel turns a simple hitch-up into a wrestling match, and wrestling matches are where people start skipping checks.
Step 4: couple the hitch onto the towball
Lower the hitch head onto the towball using the jockey wheel. Depending on your hitch, you may need the coupling handle lifted to allow it to seat.
When it drops on, you should feel and/or hear a positive engagement - but don’t rely on sound alone. Use your hitch indicator if you have one, and do a physical check: try to lift the hitch head using the jockey wheel a little. If it’s properly coupled, the rear of the car should rise slightly as the caravan tries to lift it. If the hitch pops off, that’s useful information discovered at 2 mph rather than 50.
This “lift test” is one of those unglamorous habits that pays you back every single trip.
Step 5: attach the breakaway cable (properly)
In the UK, a breakaway cable is there to apply the caravan brakes if the caravan becomes detached. It’s not a decorative lanyard and it’s not meant to be wrapped around the towball like a festival wristband.
Attach it to the dedicated breakaway point on your towbar or the vehicle’s designated attachment point. Many towbars have a little ring or tab specifically for this. The cable should be routed so it won’t drag on the ground and won’t snag on tight turns.
The trade-off here is length. Too slack and it can drag. Too tight and it can apply the brakes on full lock or pull itself out. You’re aiming for enough length to allow turning, but not so much that it’s doing a convincing impression of a skipping rope on the A-frame.
Step 6: connect the electrics and check they’re secure
Connect your 13-pin plug (common on modern UK set-ups) or your twin 7-pin plugs if you’ve got an older arrangement. Push it fully home and make sure the connection is firm.
A quick, boring check now saves a lot of roadside confusion later. If your car has a towing electrics indicator or a dash warning for trailers, make sure it recognises the caravan.
If you’ve ever had lights that worked yesterday and don’t today, you’ll know why this matters. It’s usually not gremlins - it’s usually a plug not seated, a bit of corrosion, or a cable under tension.
Step 7: raise the jockey wheel fully and stow it correctly
Wind the jockey wheel up until it’s fully raised, then clamp it properly. If your jockey wheel has a swivel action, swing it into its travelling position and make sure it’s locked.
This is also where people accidentally leave the corner steady handle in the A-frame tray, or leave the wheel clamp on, or leave a chock in place. Nobody sets off intending to do that. They set off because they were distracted.
Give yourself permission to be methodical. Methodical is not the same as slow.
Step 8: stabiliser - engage it in the right order
If you have a stabiliser hitch (for example, an AL-KO style), you’ll typically couple first, then lower the stabiliser handle to engage the friction pads.
Some people like to put a hand on the back of the car and do the stabiliser with a bit of body weight. That’s fine. Just don’t use it as a substitute for a proper coupling check. A stabiliser can be engaged even if other things aren’t quite right - it’s not a magical “sorted” lever.
Also worth knowing: stabiliser pads don’t like grease on the towball. If you’ve swapped between a box trailer and a caravan, you might need to clean the ball properly before you hitch up.
Step 9: check noseweight (when you need to)
Noseweight is one of those topics that attracts myths like a porch light attracts moths. You don’t need to obsess every single departure, but you do need to be within your car’s and towbar’s limits, and within your caravan’s limit too.
If you’ve loaded differently - awning moved to the front locker, bikes on the back, water carrier shifted, full front storage because you were in a rush - that’s when a noseweight gauge earns its keep.
There’s a judgement call here. If your loading is consistent and you know your set-up is within limits, you can be more relaxed. If you’ve changed anything meaningful, measure it. Towing stability is heavily influenced by noseweight, but the solution isn’t fear - it’s knowing where you are.
Step 10: release the caravan handbrake (at the right time)
Keep the handbrake on until you’re confident the caravan is properly hitched, the jockey wheel is up, and the breakaway cable and electrics are connected.
Then release it.
The order matters because a caravan rolling freely while you’re still fiddling at the hitch is a fast route to panic and rushed decisions. Once everything is secure, releasing the handbrake becomes the calm final action it should be.
Step 11: do a proper walk-around
This is where you catch the silly stuff before it becomes expensive stuff.
Walk around once, slowly. Check the steadies are fully up, the door is locked, rooflights are down, windows are latched, and nothing is left on the pitch. Look at the tyres. Check the wheel nuts visually if you’re the cautious type (no judgement). Confirm the electrics cable isn’t stretched tight and isn’t dragging.
If you use towing mirrors, fit them now and adjust them properly. If you only fit them “once you’re out of the site because it’s fiddly”, you’ll forget at least once. Everyone does. Better to be the person who takes an extra minute than the person who’s trying to merge while guessing what’s beside the caravan.
Step 12: light check and brake light sanity check
Ideally, get a second person to confirm indicators, brake lights, tail lights and fog light behaviour. If you’re solo, you can still check indicators by putting hazards on and walking round, and you can often see brake light reflections against a wall, a van, or a conveniently positioned white caravan next door.
With modern cars and 13-pin systems, some faults show up as dash warnings. Treat those warnings as helpful, not as an insult to your competence.
Common hitch-up mistakes (and how to avoid them)
The most common error is thinking “it felt like it went on”. That’s why the lift test is so valuable. Another is mis-attaching the breakaway cable - either to something that isn’t designed for it, or in a way that’s too long or too tight.
People also forget the jockey wheel clamp, or leave the jockey wheel just low enough to kiss a speed bump. And yes, someone, somewhere, has towed off with a wheel clamp on. If you’ve never done it, congratulations - but don’t let that turn into superstition. Let it turn into a walk-around habit.
If you want more calm, experience-led towing guidance, that’s the sort of thing we build at CaravanVlogger - not to add rules, but to remove the noise.
When it doesn’t feel right: stop and reset
If the hitch won’t seat, or the indicator doesn’t show coupled, or you’re forcing the handle, stop. Put the caravan handbrake on, chock if needed, and start again.
Usually the fix is simple: the car isn’t quite aligned, the hitch is slightly too high, the towball is not directly under the hitch, or there’s tension because the caravan is angled. Resetting is not a failure. It’s what competent people do when the set-up isn’t clean.
The helpful mindset shift is this: hitching up is not something you do fast. It’s something you do the same way every time, so your brain spots what’s different.
If you take one thing into your next trip, let it be this: give yourself the space to be unhurried at the hitch. You don’t need an audience, you don’t need bravado - you just need a repeatable routine that makes towing feel like a choice you’re happy with.
Further Reading
Towing confidence & setup basics
Start with the fundamentals that actually affect safety and confidence when towing.
→ Read: Towing Confidence – What Actually Matters
Caravan myths worth understanding
Common assumptions that quietly cause problems — and what really matters instead.
→ Read: Caravan Myths That Refuse to Die
Real-world caravanning lessons
Practical insights from touring, ownership, and learning things the hard way.
→ Read: Real-World Caravanning: Lessons Learned
Need clearer caravan answers?
TalkWrench is where caravan questions get calm, experience-based explanations — without the noise, arguments, or guesswork.