How to Clean Hitch Stabiliser Pads
If your stabiliser hitch starts grumbling, snatching a bit more than usual, or sounding as though it has developed opinions about every roundabout in Britain, dirty pads are often high on the list.
That does not mean every noise is a crisis, and it certainly does not mean you need a shelf full of miracle sprays. Most of the time, a sensible caravan hitch stabiliser pads cleaning method is simple: keep the friction surfaces clean, keep grease well away from them, and know when cleaning has done all it can.
Why hitch stabiliser pads get dirty in the first place
Stabiliser pads work by gripping the towball with friction. That is the whole point. Unlike parts that want lubrication to move freely, these pads need clean, dry contact to do their job properly. If grease, road film, corrosion, polish residue, or general muck gets onto the towball or into the pad contact area, the hitch can lose effectiveness and become noisy.
This is where caravanning advice often becomes oddly dramatic. One camp acts as though a faint squeak means immediate mechanical doom. Another shrugs and tows on regardless. As usual, the useful answer sits in the middle. A bit of noise can simply mean contamination. Equally, if the pads are worn, glazed, or damaged, no amount of cleaning will turn them back into new ones.
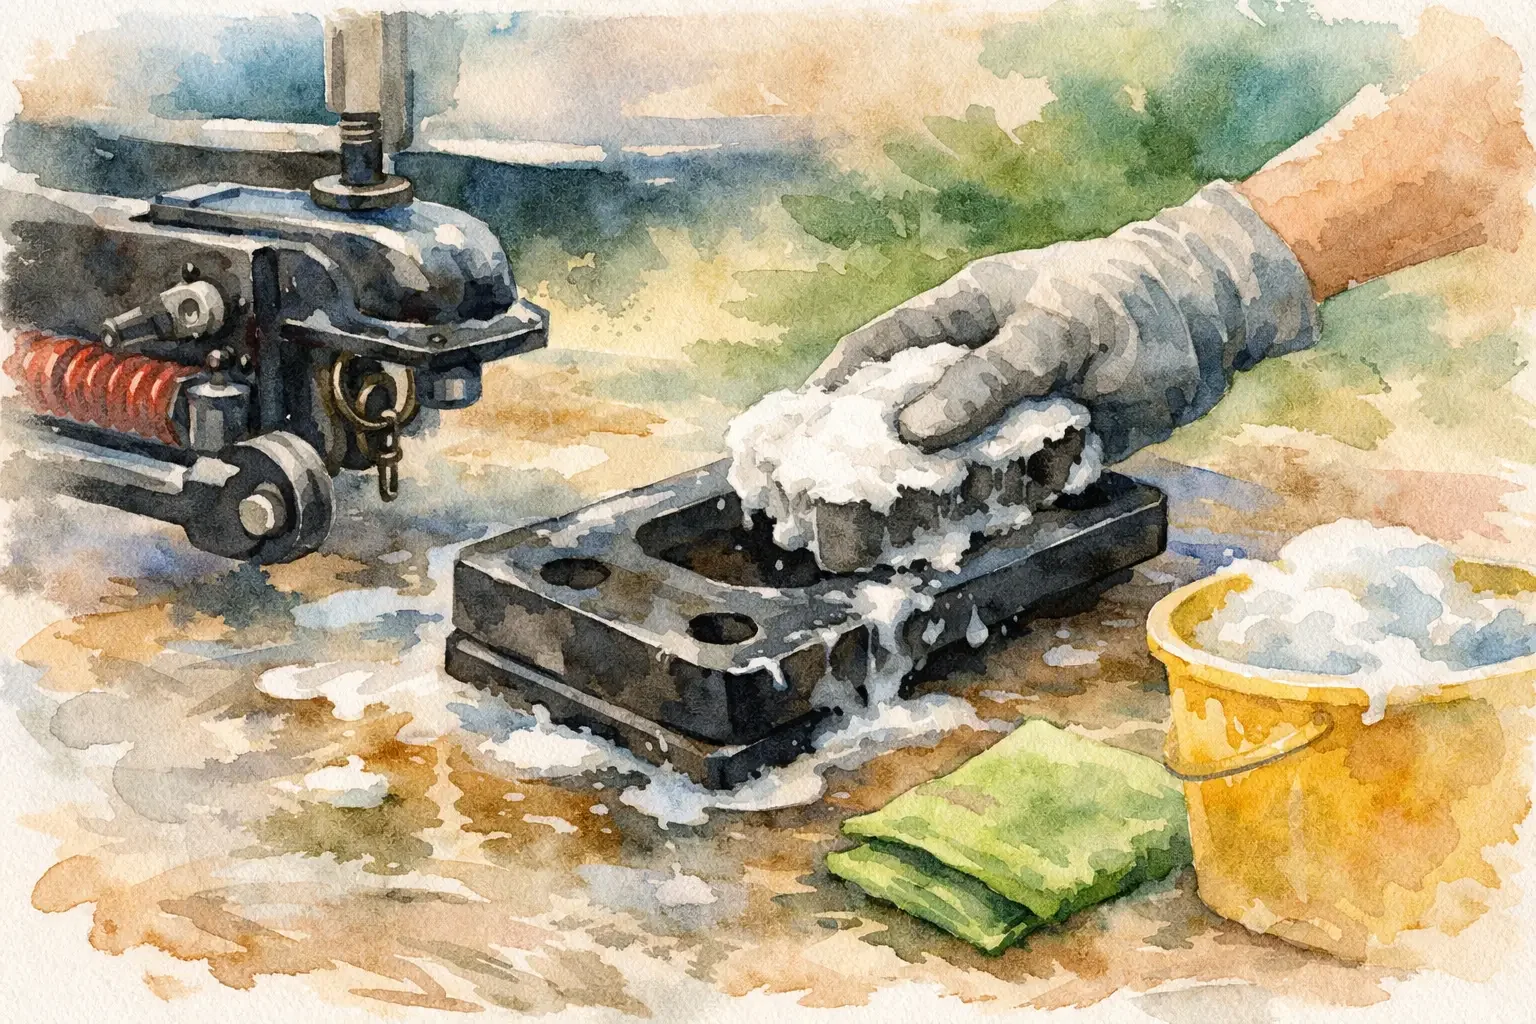
The basic caravan hitch stabiliser pads cleaning method
For most UK caravanners, the safest and most practical approach is to clean the towball first, inspect the pads second, and only remove the pads if the hitch manufacturer allows for it and you are confident doing so.
Start with the towball. If it has grease on it, that needs removing completely before you hitch up with a friction stabiliser. Use a clean cloth and a suitable degreaser or brake cleaner that leaves no oily residue. The aim is a clean, dry metal surface. If there is light rust or stubborn grime, a gentle rub with fine emery cloth can help, but do not get carried away and turn a quick clean into a metalworking project.
Once the towball is clean, look at the pads inside the stabiliser head. On many hitches you can see the friction material clearly enough to judge whether it is contaminated, cracked, chipped or badly worn. If there is obvious grease on the pads, they may sometimes be cleaned lightly, but this depends on the hitch design and the pad condition.
What to use on the pads
A dry, lint-free cloth is the least controversial option. If the pads only have dust or light residue on them, that may be all they need. For more stubborn contamination, some owners use fine emery paper very lightly on the pad surface to remove glazing or surface build-up. The key word is lightly. You are cleaning the face, not trying to reshape it.
If your hitch manufacturer permits pad removal, taking them out can make inspection and cleaning easier. Follow the handbook for your specific stabiliser head because the method varies. Some pads are straightforward to remove. Others are less keen to leave their homes. This is not the moment for random screwdriver-based enthusiasm.
What not to use
Avoid anything oily, waxy, or silicone-based. That includes general-purpose lubricants, spray polish, penetrating oil, and the sort of "does everything" aerosol that lives in many garages and should, frankly, know its limits.
Also be cautious with aggressive solvents on the pads themselves. Cleaning the towball with a residue-free degreaser is one thing. Soaking friction material in chemicals is another. If in doubt, check the hitch handbook. The manufacturer wins this argument, not the bloke on a forum who has "always done it this way" since 1998.
Clean the towball properly or the pads will just get dirty again
A good caravan hitch stabiliser pads cleaning method is really half about the pads and half about the towball. If the towball is painted, greasy, corroded, or contaminated with old residue, the pads will pick that up quickly.
For friction stabilisers, the towball should be bare metal where the pads contact it. If you have a new towbar with paint on the ball, check the hitch instructions. Many stabiliser systems require that paint to be removed from the contact area before use. If not, you can end up with poor friction and a mess transferred onto the pads.
Likewise, if you also tow something else that does require a greased towball, be careful. It is perfectly possible to clean the ball thoroughly each time before using the caravan hitch, but you do need to be methodical. "That looks near enough" is not a technical standard.
When cleaning is enough and when it is not
This is the bit that saves time and false hope. Cleaning helps when the issue is dirt, light surface glazing, or contamination on otherwise serviceable pads. It will not fix pads that are worn beyond limits, physically damaged, or contaminated so deeply that friction performance has clearly been affected.
Common signs that replacement may be the better option include persistent slipping, poor stabilising feel, visible wear indicators showing the pads are near end of life, chunks missing from the friction material, or noise returning very quickly after careful cleaning.
Some stabiliser hitches have wear indicators built in, which is useful because it removes guesswork. If yours does, use it. If it does not, inspect the pad thickness against the manufacturer guidance. This is one of those areas where a five-minute check is worth far more than heroic confidence.
A sensible cleaning routine before a trip
You do not need to strip and inspect everything before every weekend away. Most owners will do perfectly well with a quick visual check and a clean towball as part of normal hitching-up routine.
If the hitch has been unused for a while, or the caravan has sat through a wet winter, give the towball and hitch head a closer look. Road grime, condensation and surface corrosion can build up quietly. The first clue is often a hitch that feels rougher to operate or sounds more vocal than usual.
Before setting off, make sure the towball is dry and clean, the hitch handle operates normally, and there is no obvious contamination on the pads. If you have recently cleaned the ball with solvent, let it evaporate fully. You want dry friction surfaces, not a chemical slip-and-slide.
A few trade-offs worth knowing
There is a balance here. Clean too casually and you may leave contamination behind. Clean too aggressively and you can shorten pad life or damage the friction surface. The right approach is gentle, deliberate and boringly effective.
It also depends on how you use the outfit. If you tow frequently through winter, use muddy storage sites, or switch between different trailers and the caravan, you may need to clean and inspect more often. If your caravan lives a fairly sheltered life and only comes out for neat, sunny trips with a stop for tea, your maintenance interval may be less demanding.
Neither is morally superior. One just needs a bit more cloth and patience.
Common mistakes that cause stabiliser pad problems
The biggest mistake is greasing the towball out of habit. That is correct for some trailer couplings, but not for friction stabiliser contact surfaces. The second is ignoring the towball entirely and focusing only on the pads. The two work together, so both need attention.
Another common one is assuming every squeak means replacement is due. Sometimes it does. Often it means clean first, inspect properly, then decide. The final mistake is using random cleaning products because they happen to be on the shelf. If a product leaves residue, it is probably the wrong one for a friction surface.
If you want more plain-English caravanning guidance, CaravanVlogger exists for exactly this sort of thing - cutting through the fuss without pretending every maintenance task is a test of character.
So what is the best method in practice?
The best caravan hitch stabiliser pads cleaning method is the one that keeps the friction surfaces clean and dry without overcomplicating the job. Clean the towball thoroughly with a residue-free degreaser. Inspect the pads for dirt, glazing and wear. Clean the pad faces lightly if appropriate for your hitch. Replace them when wear or damage says cleaning has reached the end of the road.
That is not glamorous, but caravanning rarely improves because something sounded dramatic on the internet. It improves when you know what matters, what does not, and when a simple maintenance job is all that is needed to tow away with a bit more confidence.
Where Next?
Prepare Your Caravan or The New Season is part of the “Caravan Ownership - What Really Matters” guide on CaravanVlogger.
Or….
👉 Most caravanning advice is either overcomplicated… or just wrong.
Join the CaravanVlogger newsletter for:
✔ Real-world towing advice
✔ Setup tips that actually matter
✔ The stuff no one explains properly
Need clearer caravan answers?
TalkWrench is where caravan questions get calm, experience-based explanations — without the noise, arguments, or guesswork.